Part 1
In this tutorial, we’ll learn how to create an audiobook using GarageBand.
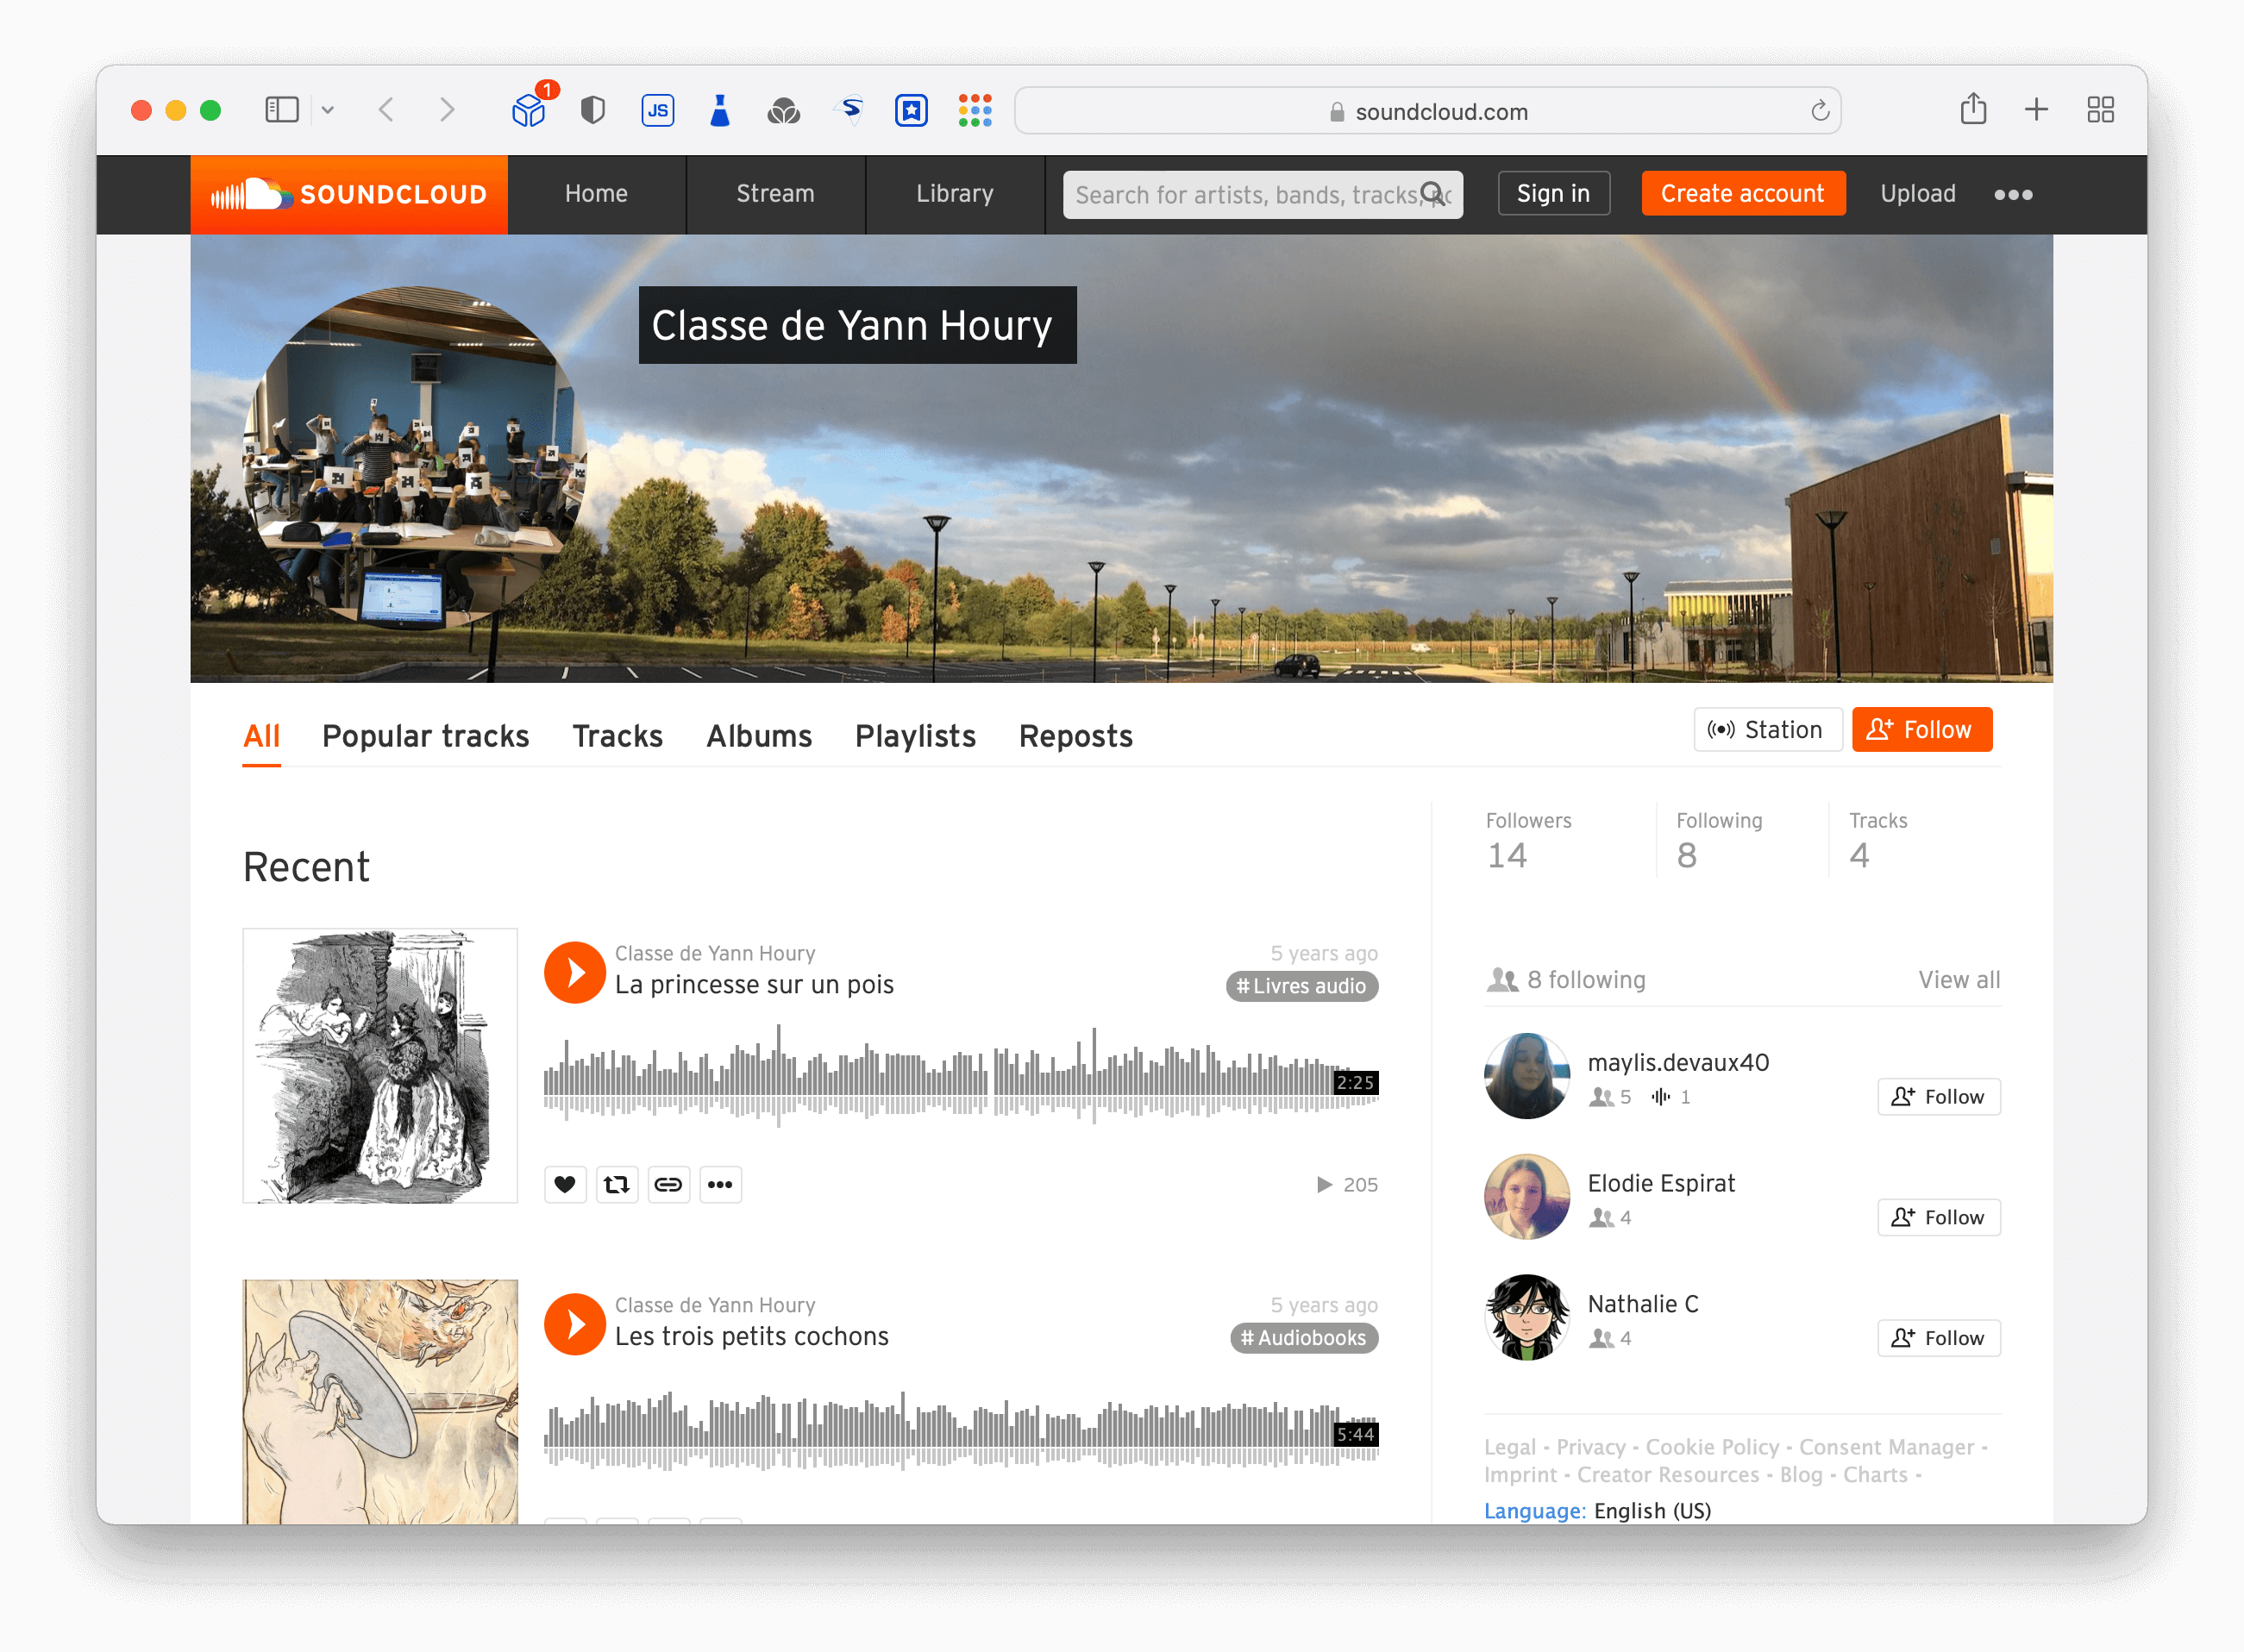
You can listen to some of the books we’ve recorded during the past few years. They’ve been uploaded to SoundCloud. But, of course, you will be able to share your recordings wherever you want. It can be on Google Drive or iCloud Drive for instance.
To get started, all you need is basically your iPad and GarageBand.

For better results, I also suggest using an external mic. I’ve bought the RØDE NT-USB for myself but, regarding your students, they may use any headphones with a built-in mic. It will be more than enough.

So let’s get started and we will open up GarageBand very soon but first let’s prepare everything we need.
Our goal
We want students to record an audiobook. Why is that?
- First, they will have to read a bunch of stories (let’s say fairy tales for our youngest students)
- They’ll have to pick one. A story not too long, not too hard, which they love and with enough characters so everyone can read.
- Students will need to collaborate (who reads what and how, etc.).
- They’ll have to select music and sound (footsteps, thunder, bell, applause… all kinds of tones).
- Then, they’ll have to record themselves. Presumably in a quiet environment (this can be done as homework).
- Finally, they’ll meet again and will do the editing, which is not the easiest task but we’ll come to that later.
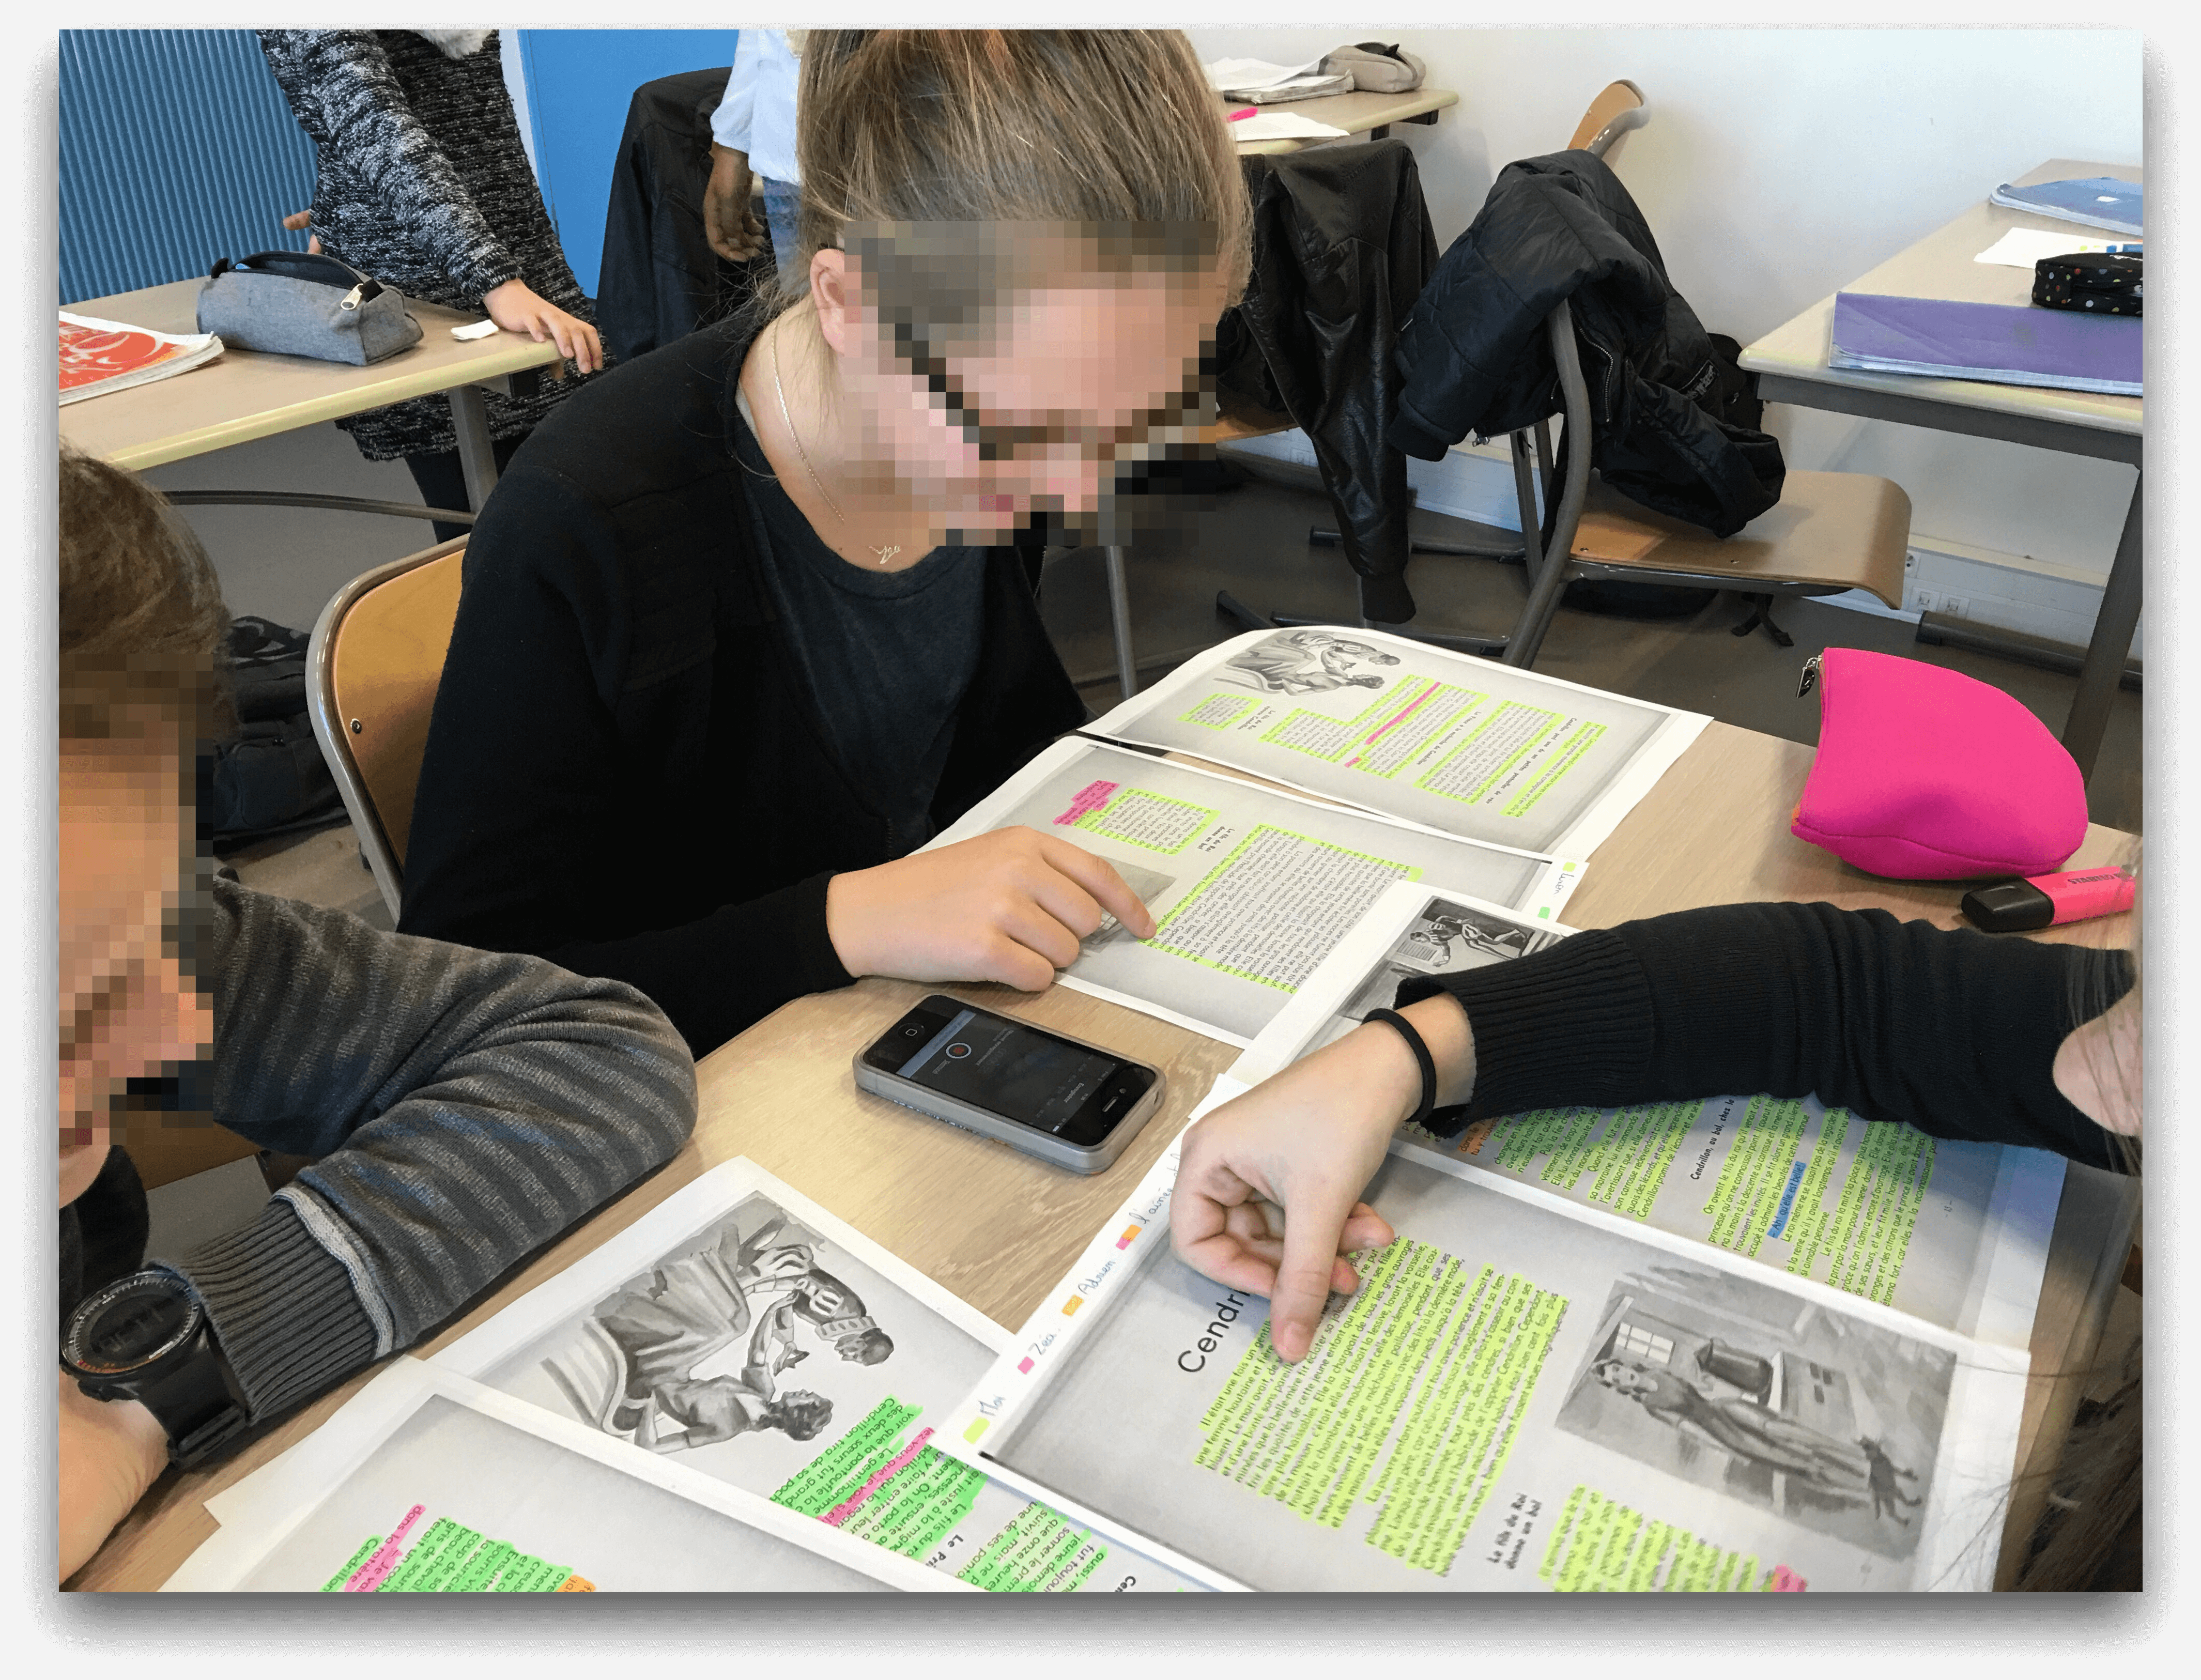
The above screenshots show you the work of a group of students using both papers and their iPads or phones.
With that, we’re good to go.
Open up GarageBand
So as you can expect, tap on the GarageBand icon and tap on the + button on the upper-right corner.
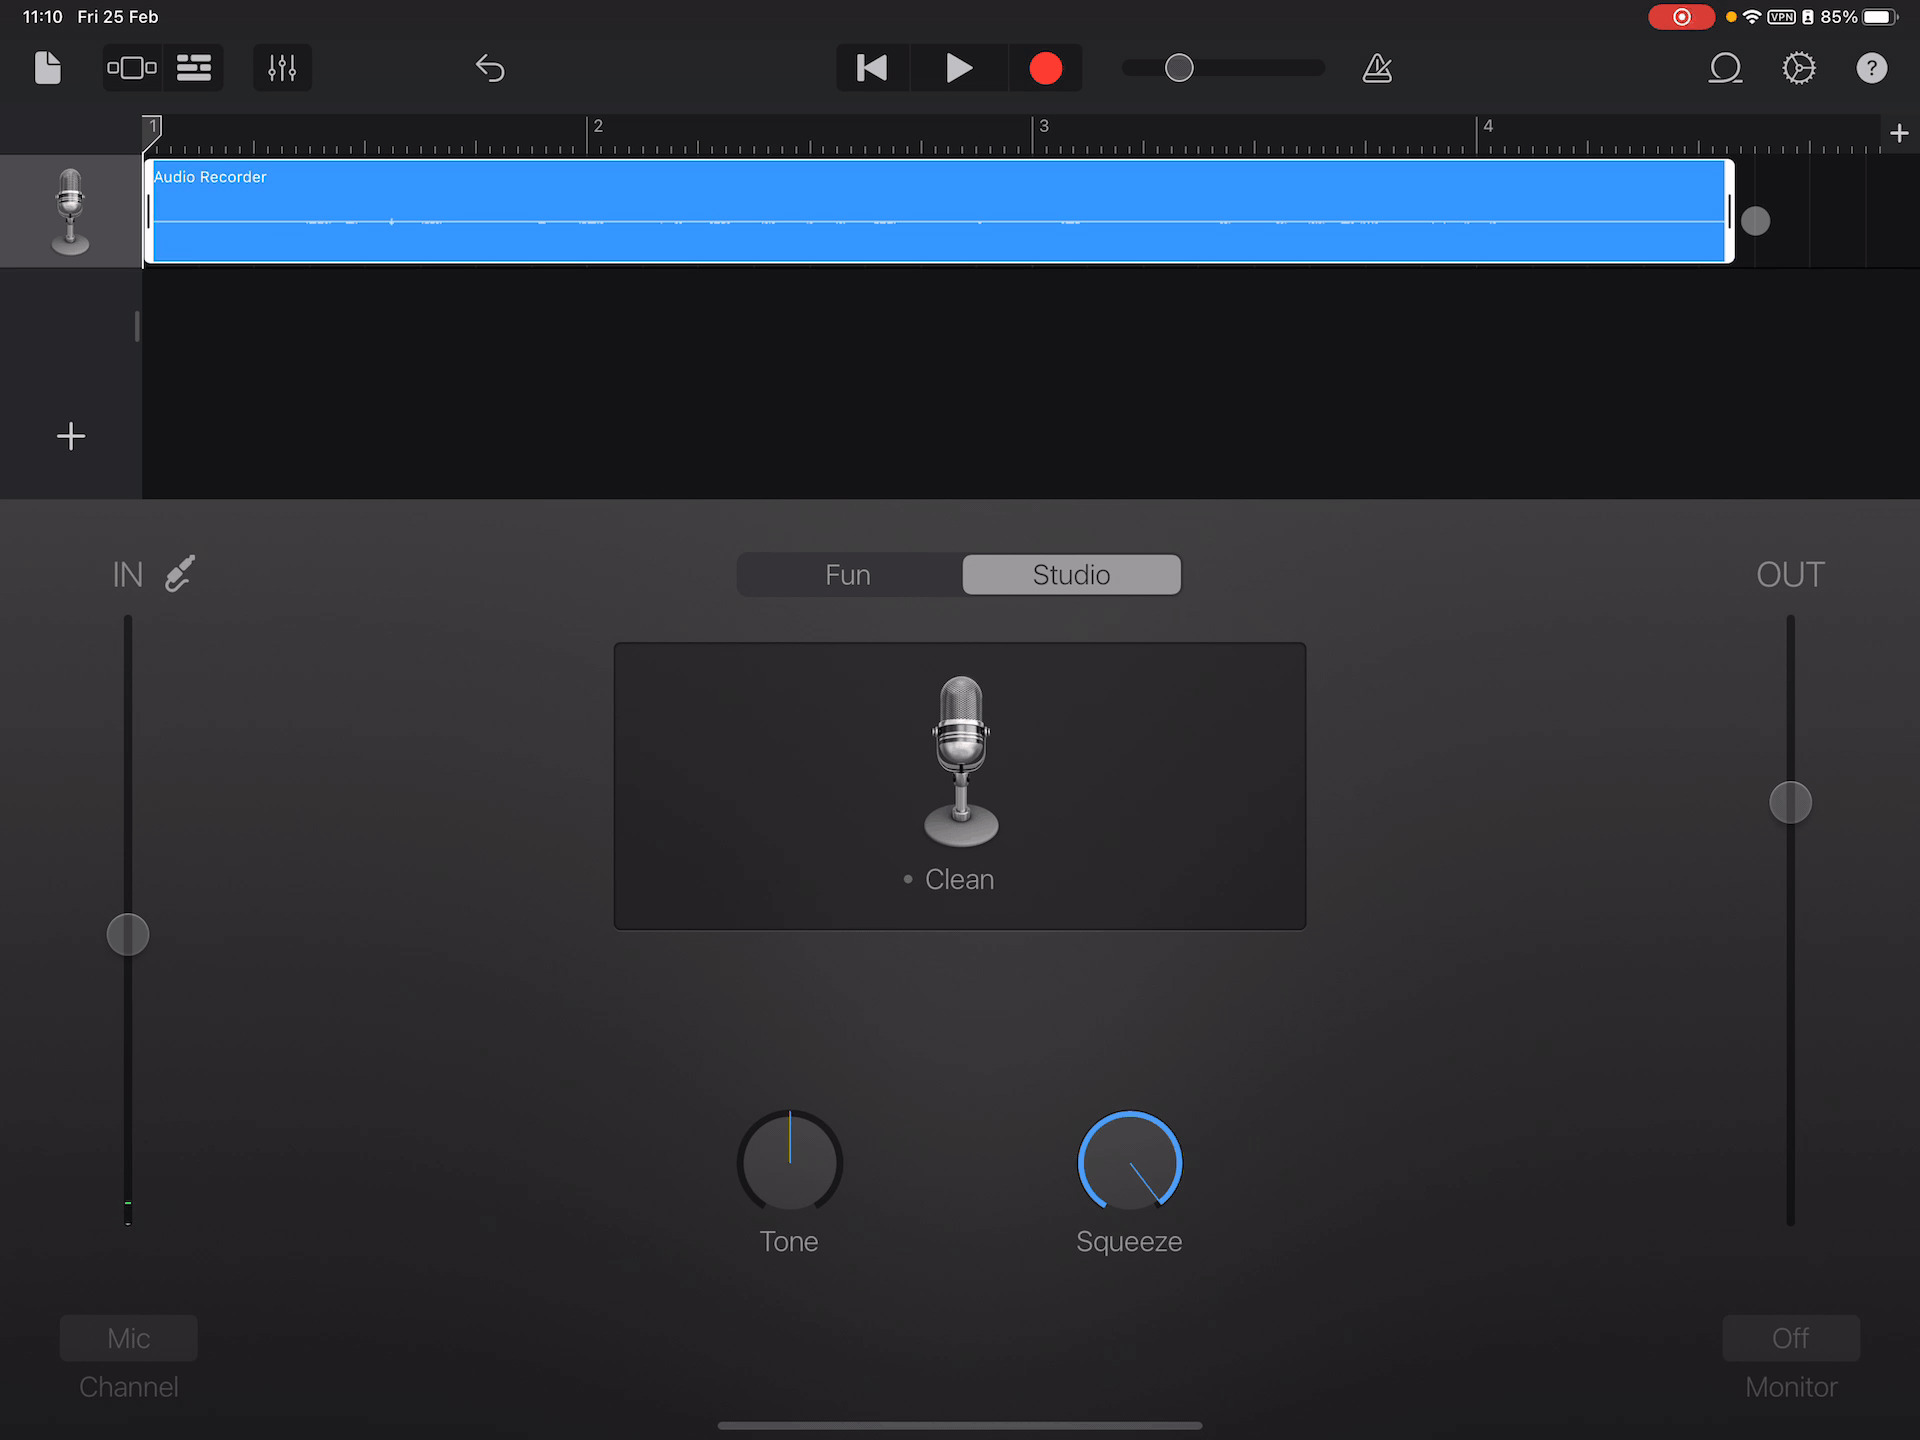
Select the Audio recorder to record your voice in the so-called (if I’m not mistaken) Sound browser.

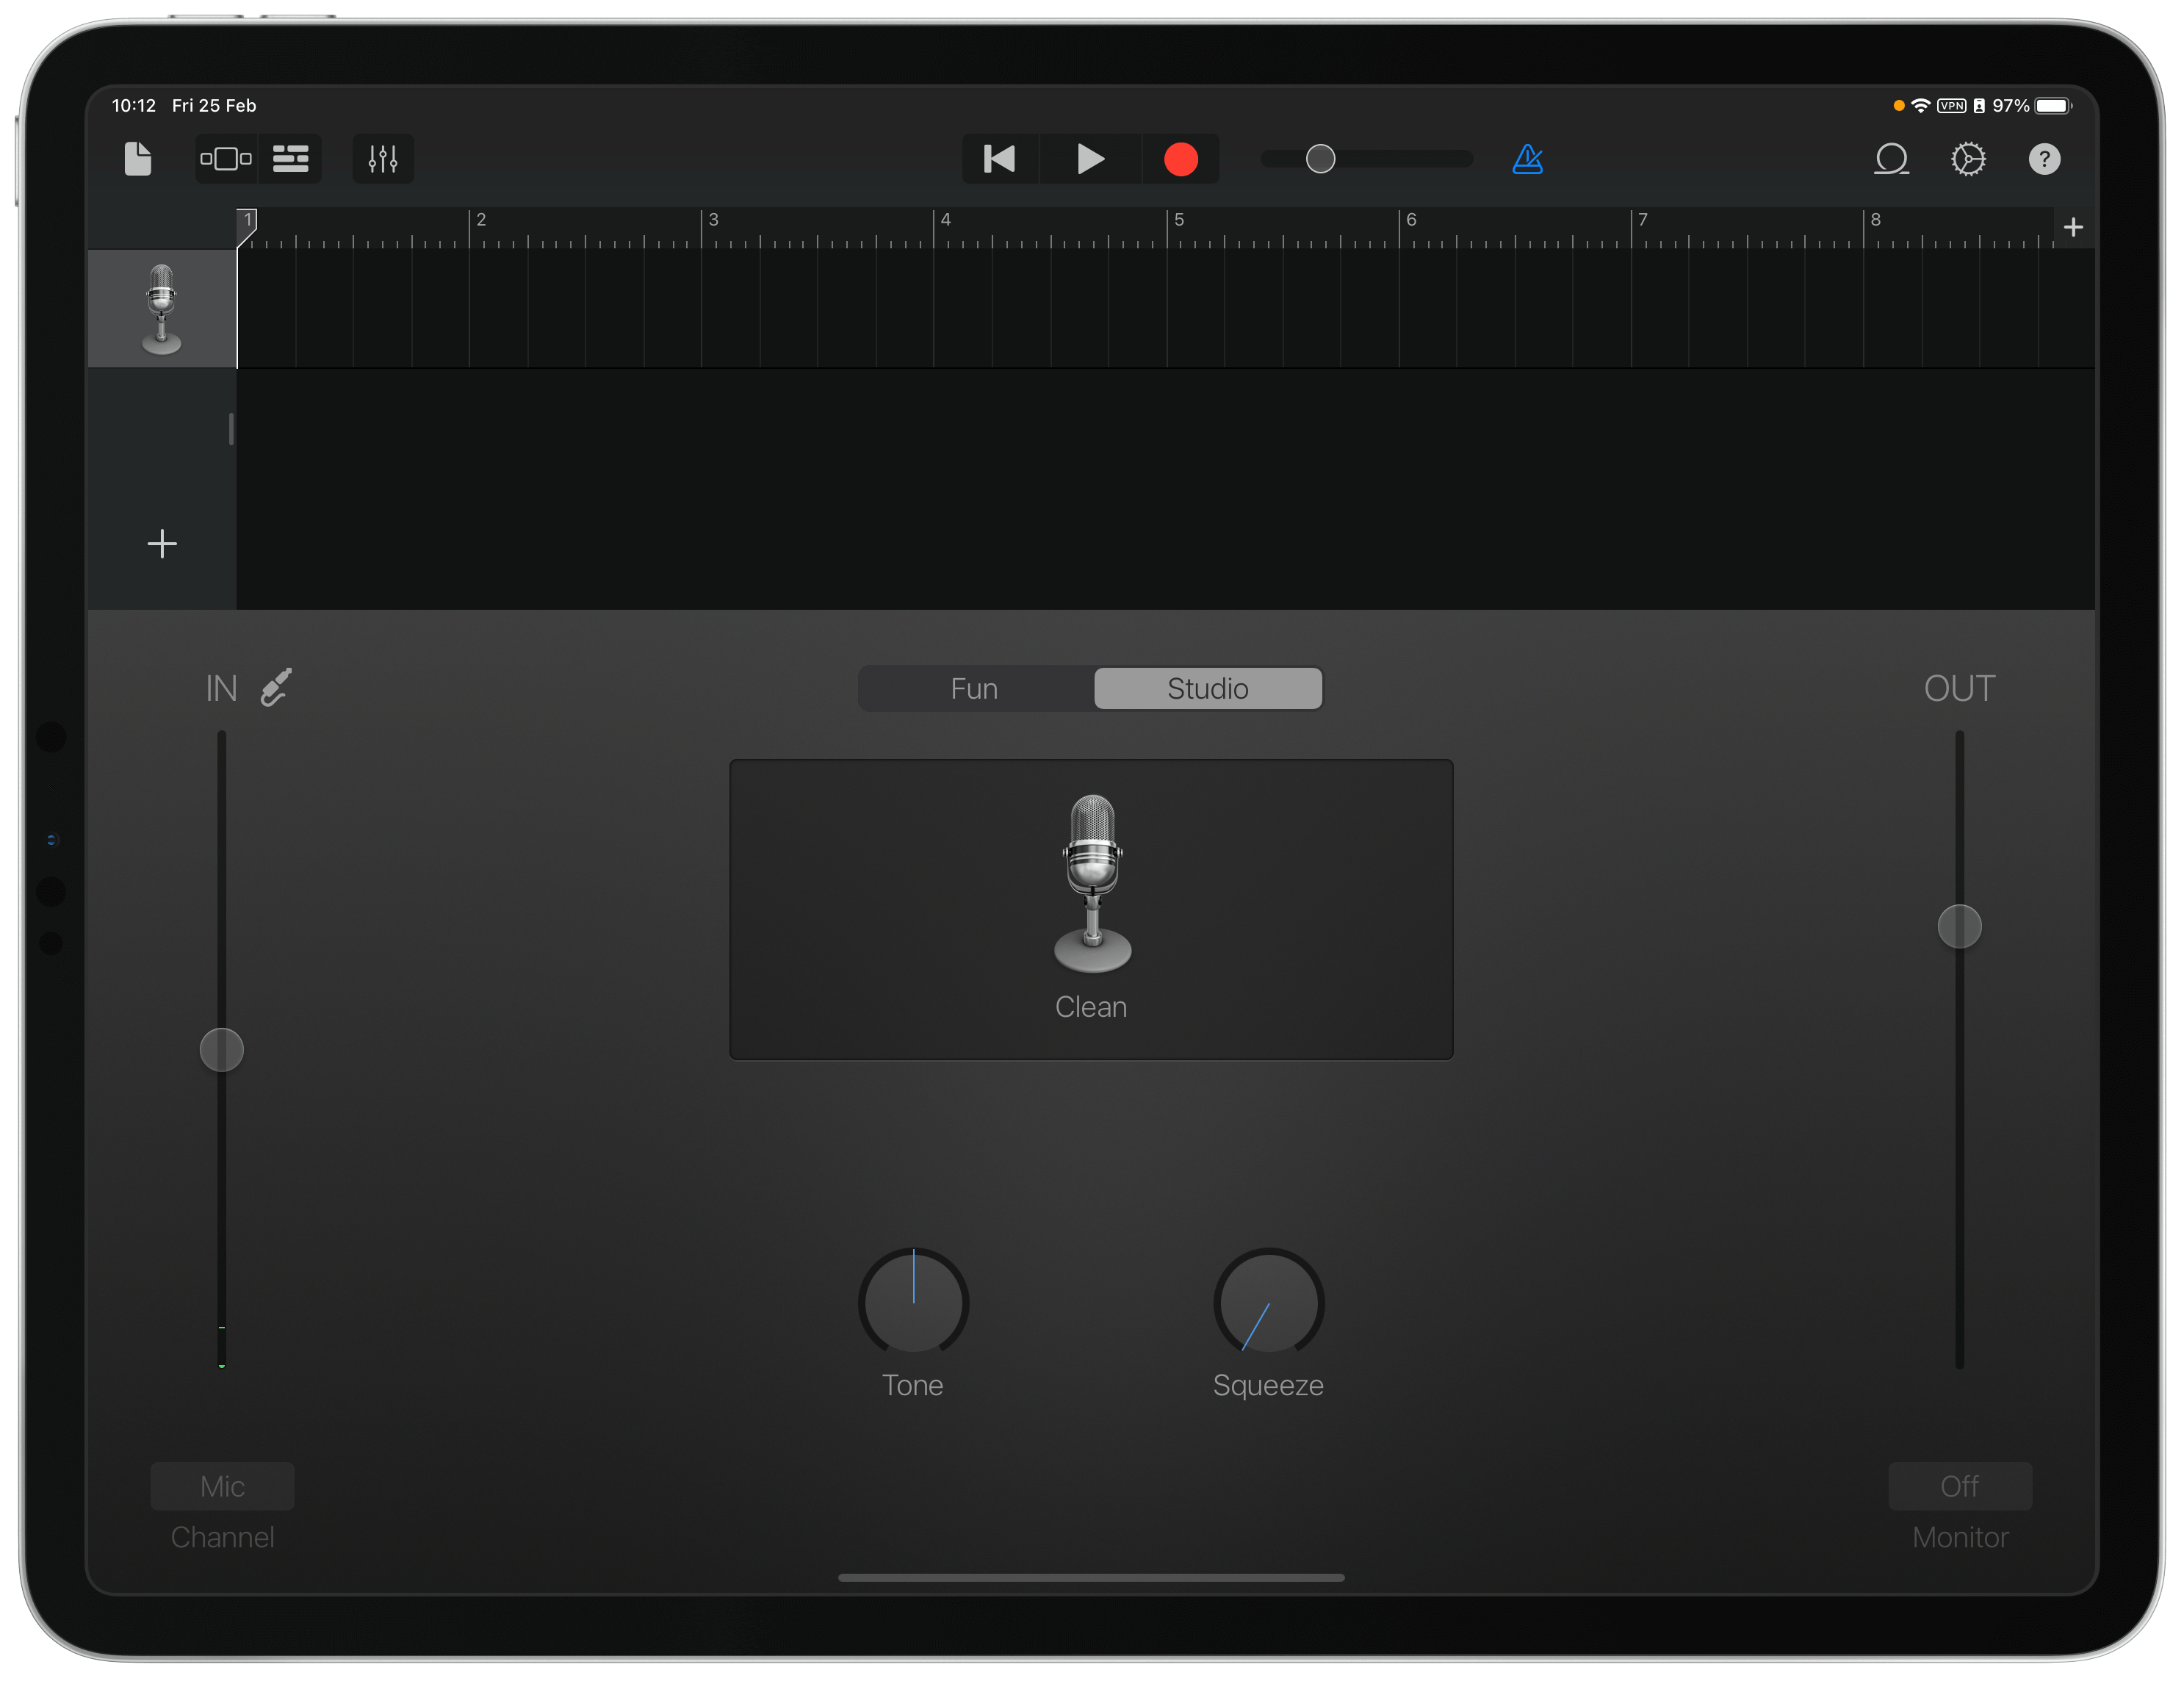
You’re going to be able to record your voice very soon but first there’s a bunch of things we need to take care of.
First, you have to make sure the metronome is off and that you tapped the little + button located on the top right corner. This is Song Sections and you need to set it to Automatic.
Also, make sure Count-in is deactivated.
Record your voice
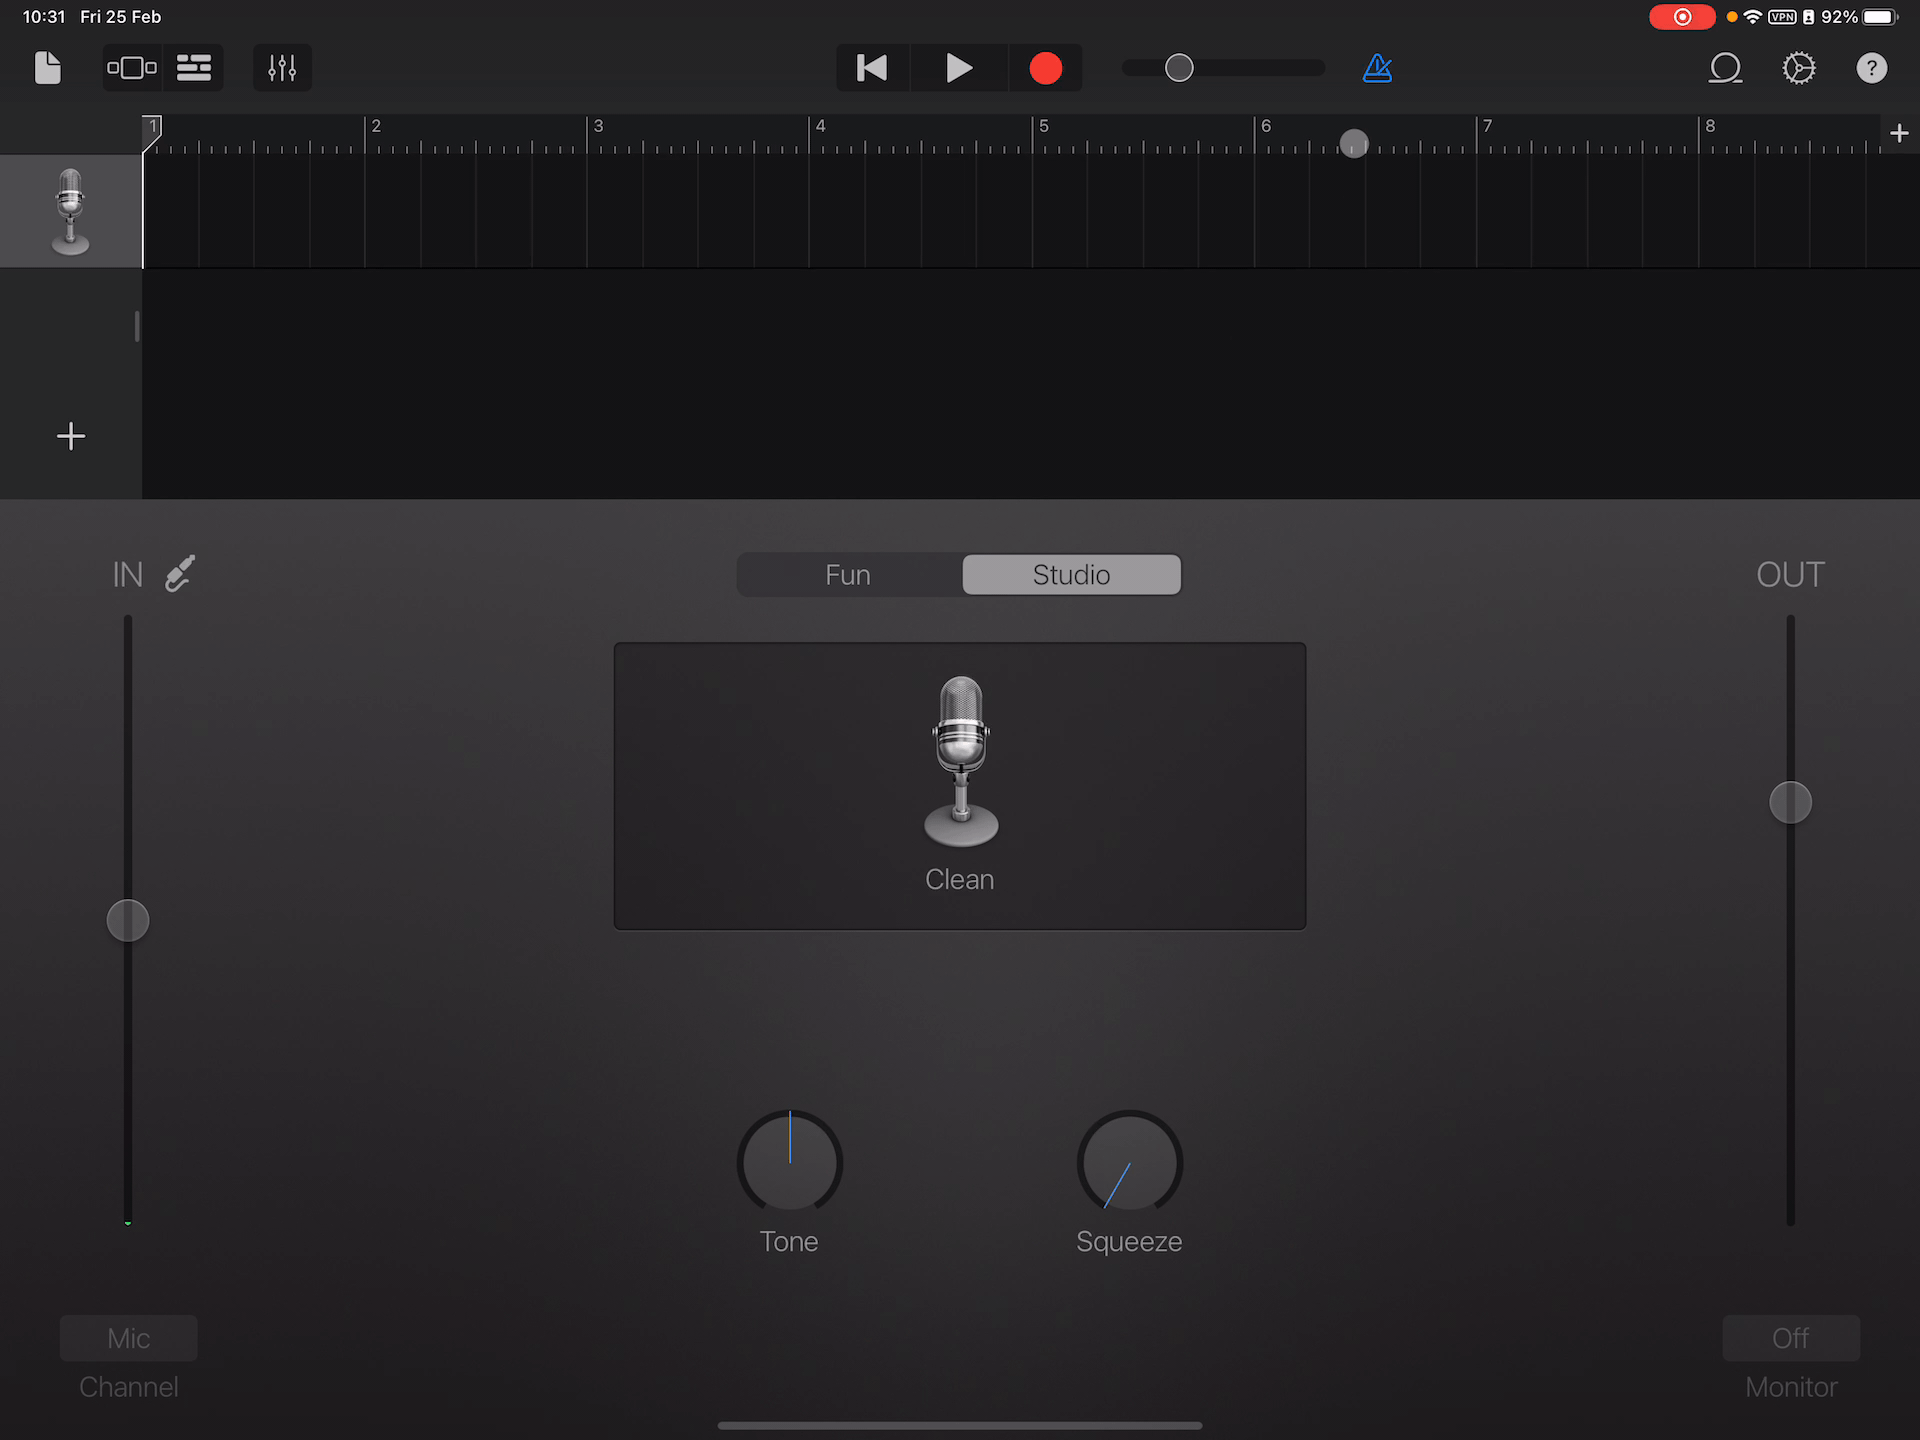
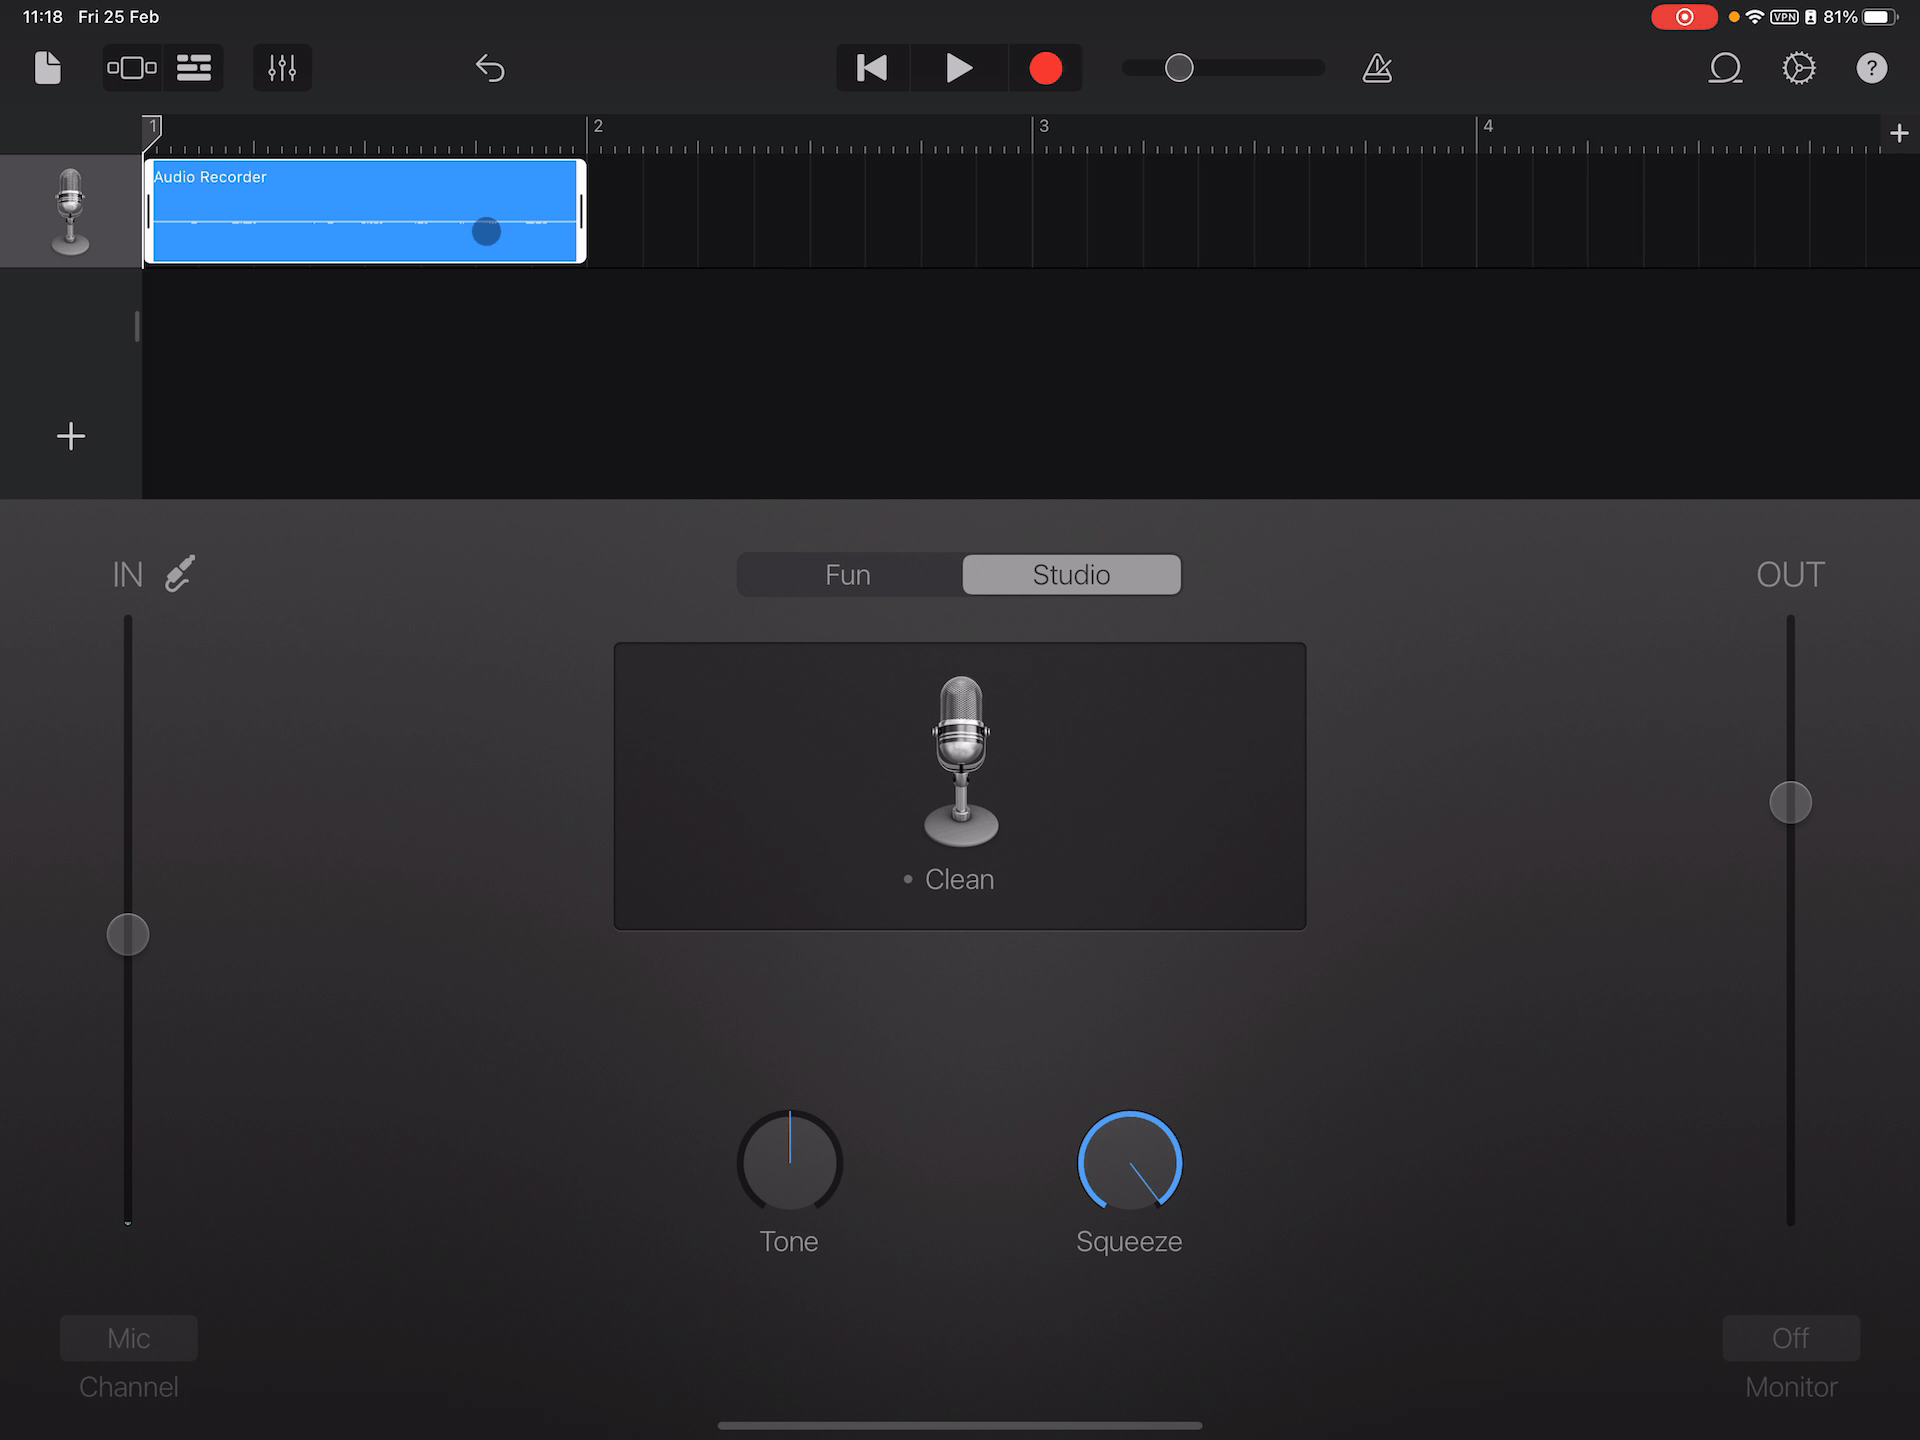
Now you can record your voice by tapping the round red button.
💡 Good to know
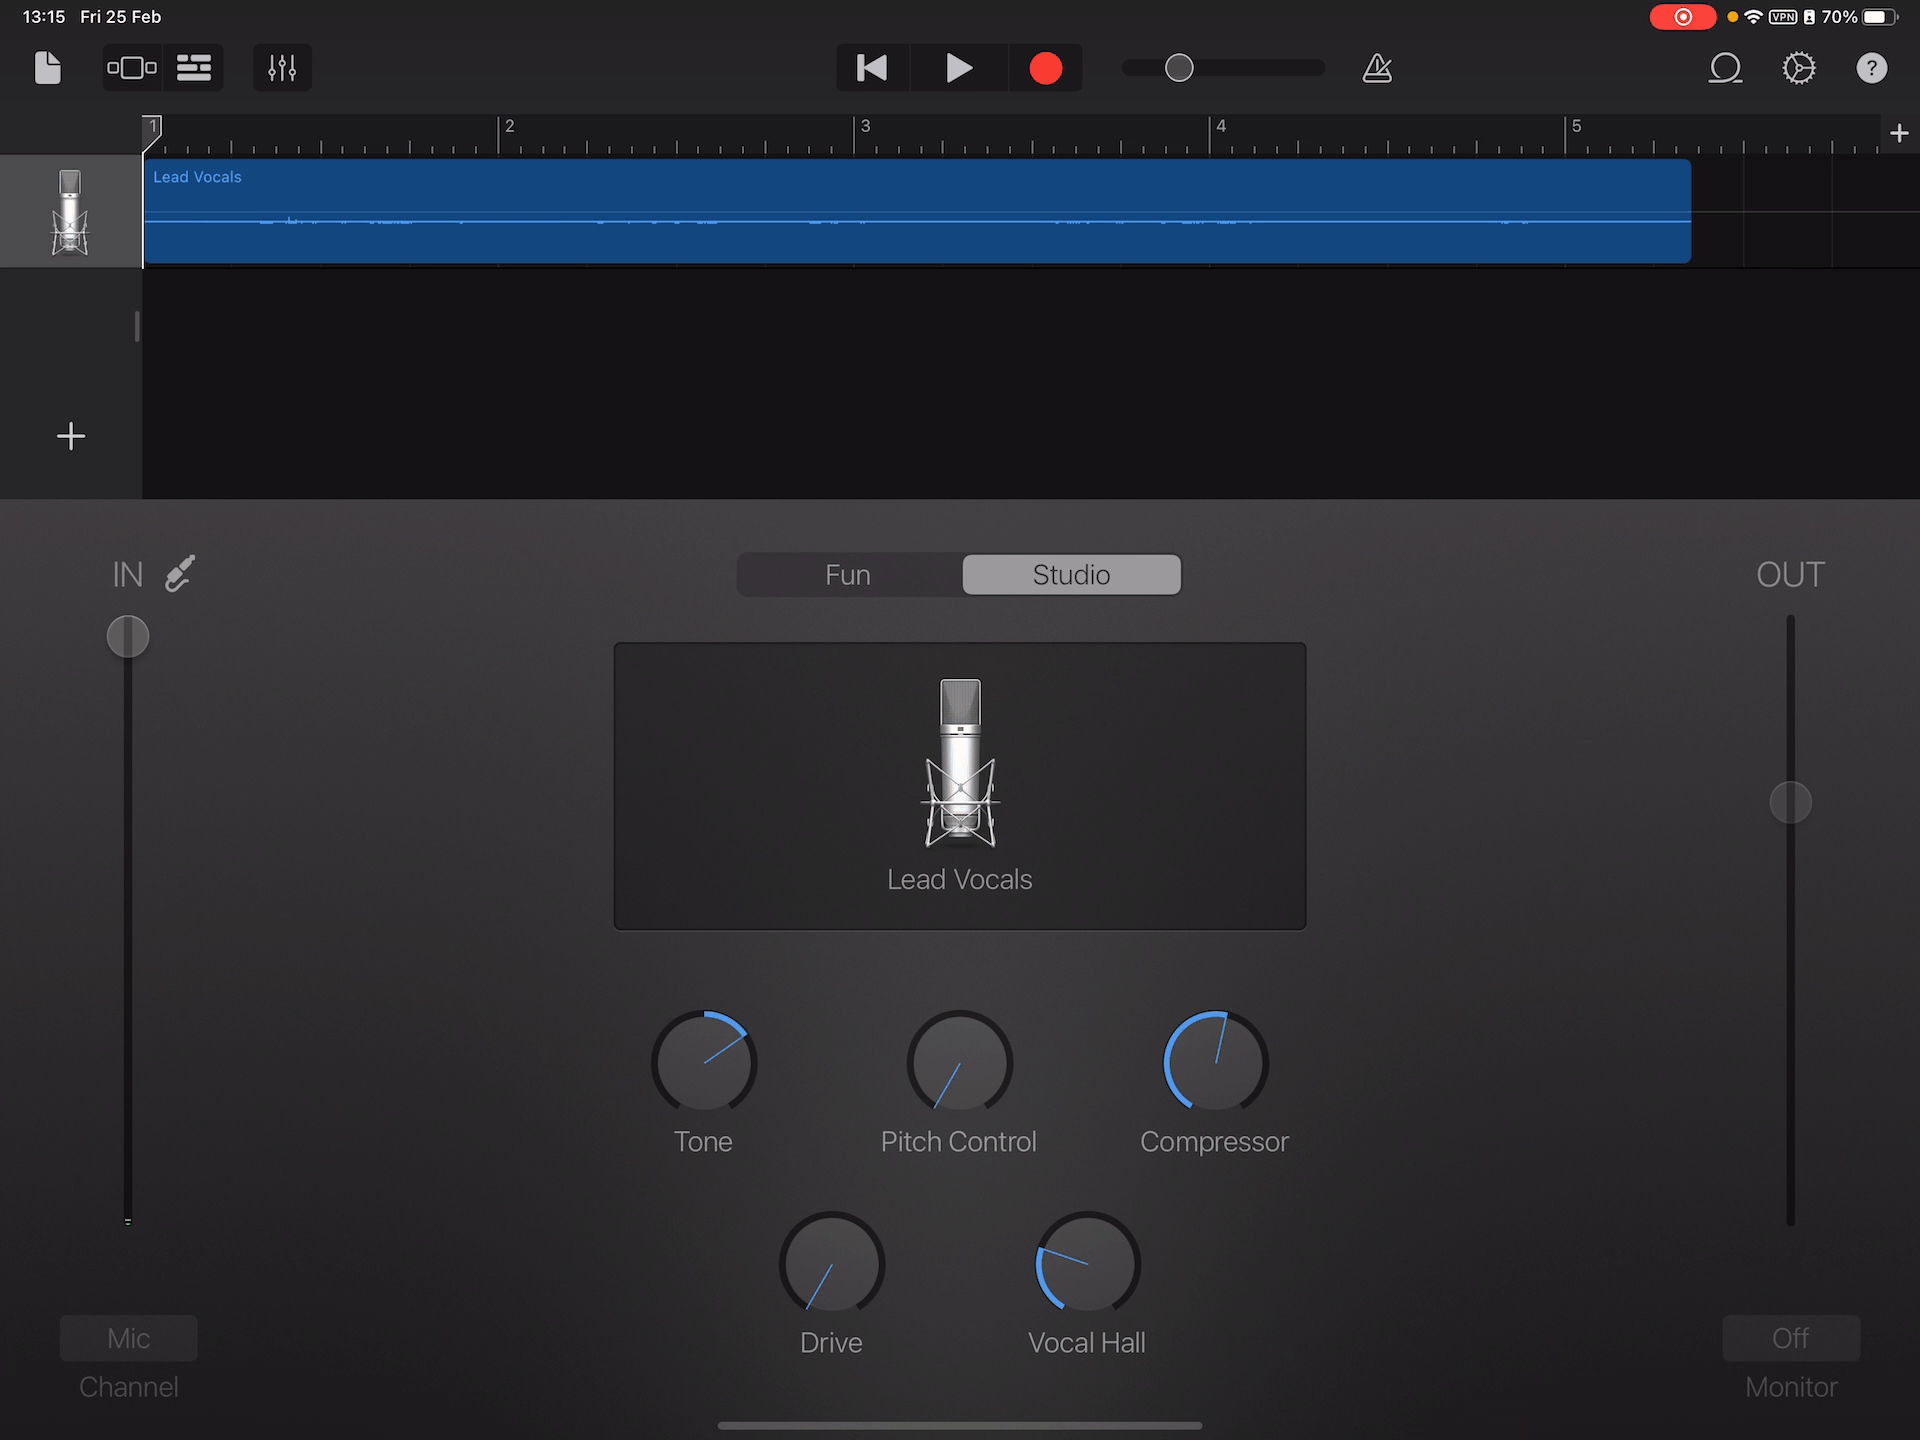
The Audio Recorder has two sets of controls you can use to change the sound. Fun view lets you quickly change the sound of your recording, while Studio view gives you more options to enhance your recording. (🔗 link)
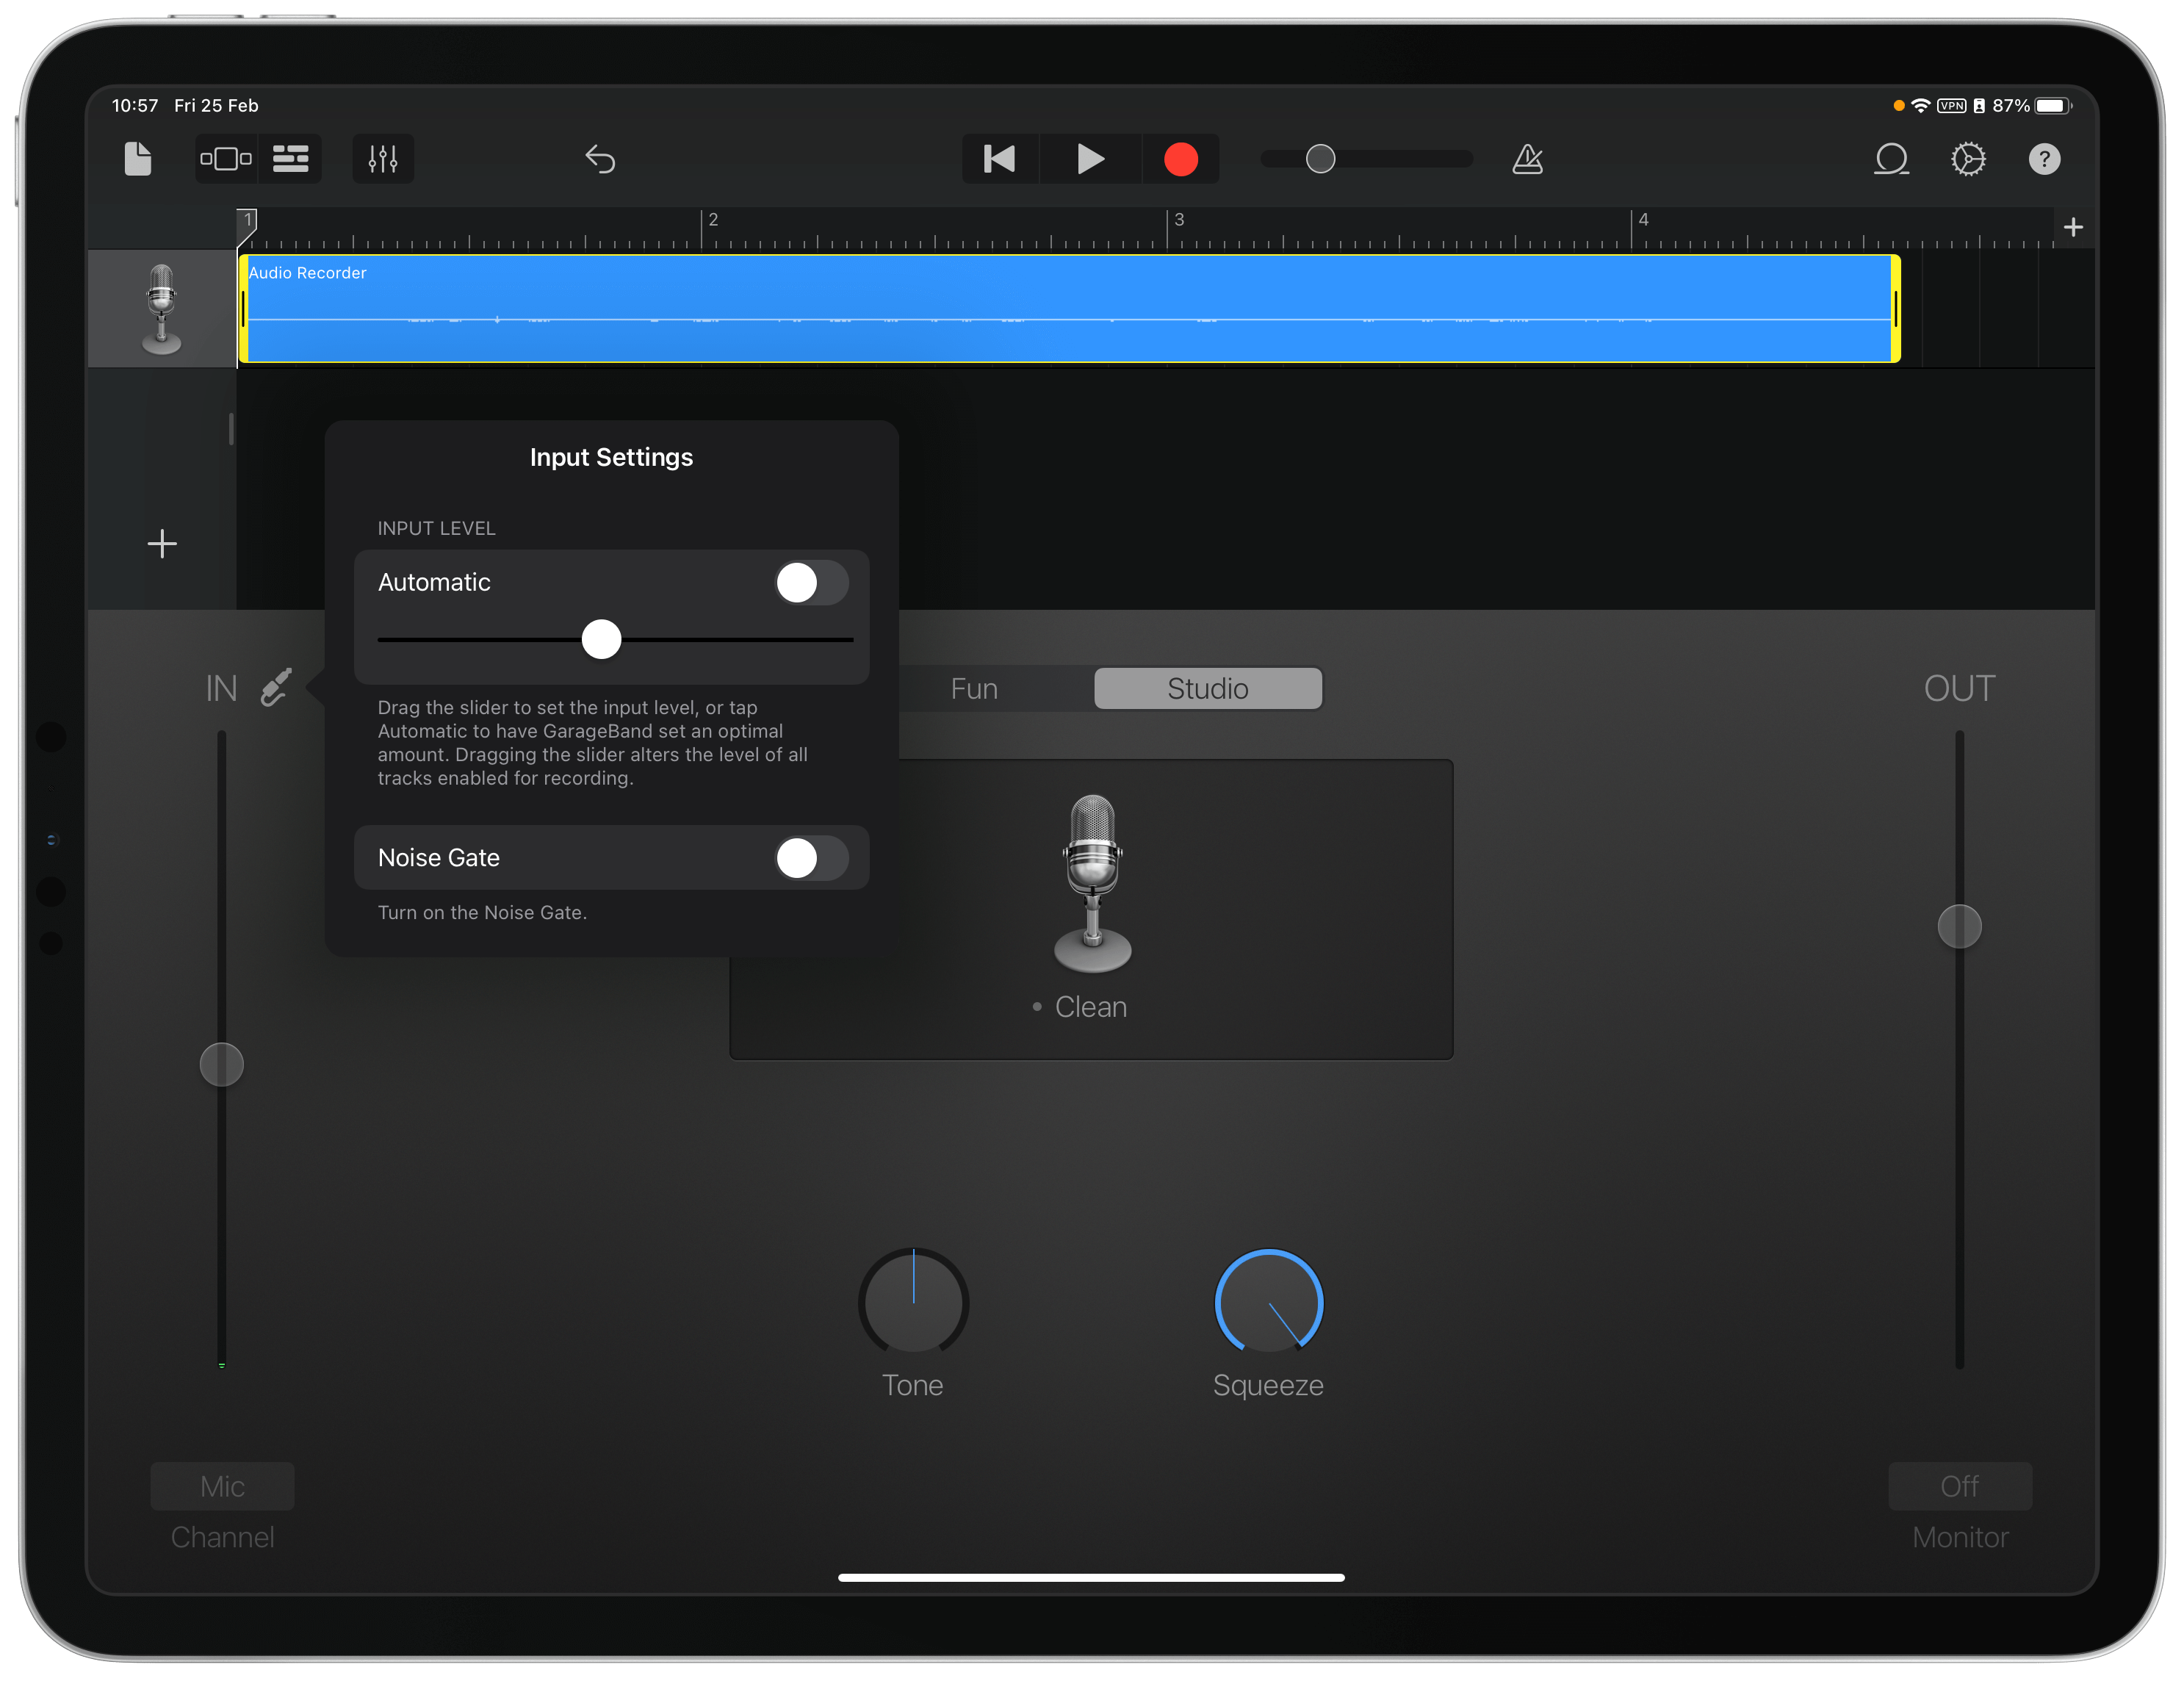
While you record, the In level slider on the left shows the input level from the microphone. If the level turns red, drag the slider down (or record the part again more softly) to prevent distortion. (🔗 link)
As you record, a red strip will appear. As soon as you are finished, press the stop button (the square one next to the red one).
💡 Good to know
You can use a noise gate to reduce low-level input noise when you record. A noise gate cuts off the sound when it falls below a certain minimum level. (🔗 link)
Apply effects
Do you want to play a little bit and add some effects to your recording? Watch this amazing work done by ehughes.
Learn about effects for recording music & audio w/ this #GarageBand project & #Pages journal for @AppleEDU #iPad
🌐 Research effects
🎤 Record your voice
🎧 Apply effects
🥁 Add loops🔗 Download here: https://t.co/BbBZ9PWgYK #AppleEDUchat #EveryoneCanCreate #AppleTeacher pic.twitter.com/NHwHrWX0st
— Eoin Hughes (@_ehughes_) February 28, 2022
Edit your recording
You can edit your recording.
You can trim it, move it, copy, delete or split it. Among other things.
First, select the so-called region (strange name, isn’t it?).
Trim a region
Now that your region is selected, drag the left or right edge of the frame.
Move a region
That is pretty self-explanatory. Just drag and drop your region wherever you want it to be (it makes more sense when you have different regions and you need to reorder them).

Copy your region and more
Just tap and hold your region.
You will be able to do different things: cut, copy, delete, rename, etc.
Also very interesting, you’ll be able to split your recording. Meaning that if you want to remove something in the middle of your recording or insert something, that is completely feasible.
Split your region
To do that, you need to tap the region. A menu appears. Select Split.
Then, a scissors icon shows up. Place it where you want to split the region. Drag the split marker (the scissors) down and that’s it!

To learn everything you can do, read Edit regions in GarageBand for iPad.
Of course, you can add as many tracks as you want. Just press the big + button on the left hand side.
💡 Good to know
If you don’t know where to look in GarageBand, presse the question mark on the upper-right corner.

Now, we are going to learn one last thing and we’ll move on to [[Create an Audiobook With GarageBand 2 | the next part of this tutorial]].
Automation
Indeed, in the next session of this tutorial, we are going to see how we can add or create music and sounds to make our audiobooks standout.
But first, we need to keep something in mind. We are going to have a complicated file to edit. After a while, you’ll end up with a document with lots of tracks including voice recordings, sounds and music and sometimes all of these can overlap.
For instance, you may want a little background, a faint music while the narrator is speaking or you want to insert a sound (a dog barking, the noise of a closing door… anything). So you may want to create volume changes. That’s when you want to use Automation.
In the above example, volume is going up progressively.
Doing this is very easy in GarageBand.
- First tap a track header (on the left right hand side. On the big mic icon).
- In the menu, tap Automation.
- Toggle on the Edit Automation button (the red one with a pen) on the left side of the control bar.
- Insert an automation point and another one (as many as you need).
- Adjust the sound volume.
- Close the automation editor by tapping Done in the upper-right corner of the control bar.